Isn't it strange that a fairy tale about heartless parents and a child eating cannibal is so famous around christmas?
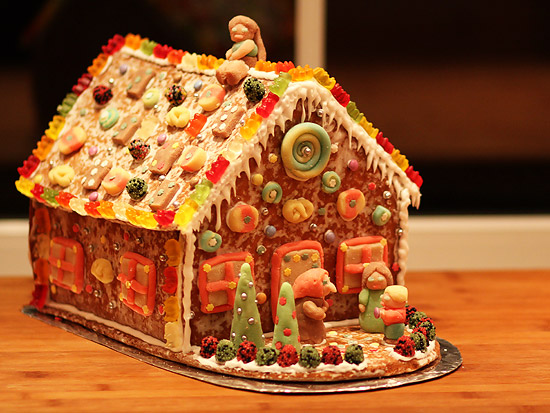
Well, whatever. There are few decorations that are so christmassy as a gingerbread house. Building and eating it is fun not only for children.
You can buy assembly kits that look quite nice. But I think that the ginger bread and the decoration mostly taste awful so you have to deal with leftovers after christmas time.
If it is completely self-made it has an individual charme, and you may use your favourite candy. Furthermore, we will use a traditional recipe for honey ginger bread, so it will taste good, too.
The dough is quite chewy, but it is not very sticky. Thus it is easy to bring into shape.
If you don't want to build a house you can simply bake the ginger bread.
It is a bit elaborate to make a house completely from scratch. Hence at first there will be the recipe for the dough and the construction manual for the parts of the house.
Dough:
- 250 g honey
- 250 g dark sugar beet syrup (don't worry if you can't find it. You can replace it with the same amount of honey)
- 250 g sugar
- 250 g grounded almonds
- zest of an organic orange or lemon
- 5 g salt of tartar
- 750 g flour
- 100 g plant oil with neutral taste
- 1 package of mixed ginger bread spices
Frosting:
- juice of an orange or lemon
- 250 g powder sugar
Boil honey, syrup, sugar and oil together in a pan, until the suger is dissolved.
Mix almonds, zest and the spices with the fluid. Sieve the flour with the salt of tartar and add to the other ingrediences.
If you don't want to build the house, you can add up to 200 g chopped dry or candied fruits, e.g. raisins, candied lemon or orange peel, cocktail cherries or similar stuff.
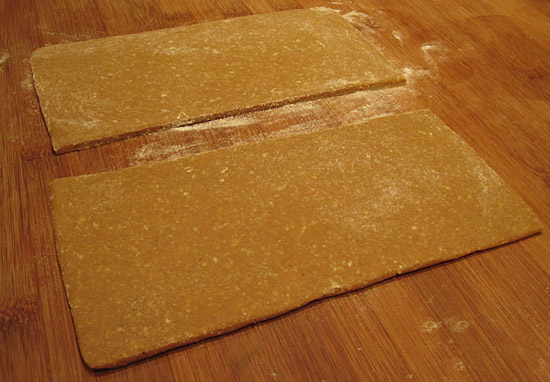
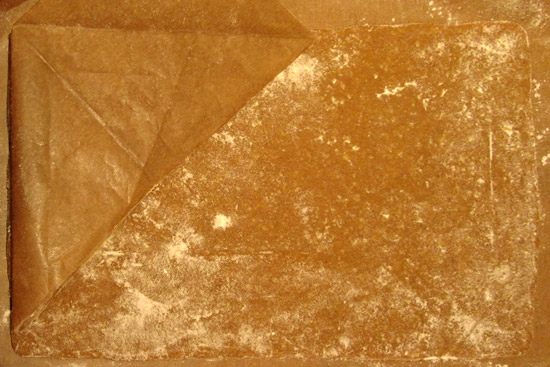
Roll out the dough on a backing sheet and bring into the desired forms. The dough should be about half a centimeter high.
Hint: The dough is easy to form if it has about hand temperature. You will only need a small amount of flour to prevent sticking, so it won't get to hard after rolling it out multiple times.
It is much easier to stretch and press it with the hands and not to glue it together to get it into the desired shape. Be careful that the dough stretches, if you peel and carry it. Check and correct the measurement after it is placed onto the backing sheet.
backing temperature with air circulation: 170 °C
backing time: about 20 minutes
Mix the powder sugar with juice until you get an easy to spread frosting. Apply to the backed ginger bread. Turn around and apply to the other side after it is dried. This will preserve the ginger bread and keep the flavor.
Here is the construction manual. This is of course only a suggestion. You can be the architect, too. Maybe somebody wants to build Croft Manor as a ginger bread house?
You will need seven parts with four different shapes: Two side walls (A), a ground plate (B), two roof plates (C), front- and backside (D). You can reduce the efford by leaving out the ground plate. Or you can leave out the side walls so the roof plates reach the ground.
The dough can be parted quite easily into the right amounts for the single components.
- Half the dough
- Take a third from the one half. This will be used for the two side walls (A), and the two thirds of dough for the ground plate (B).
- Half the other half of the dough. One part will be used for the front- and backside (CD) and one for the two roof parts.
You won't need no ruler, no set square or compass to get the geometry right. Just a piece of paper!
Let's start with the side walls (A). Roll out the dough to a square. You should not make the sides longer than 20 cm, otherwise the walls will be too thin.
The biggest part of all will be the ground plate. It will be as long as two of those squares. Check if your baking sheet is big enough for this. Otherwise roll out a smaller square.
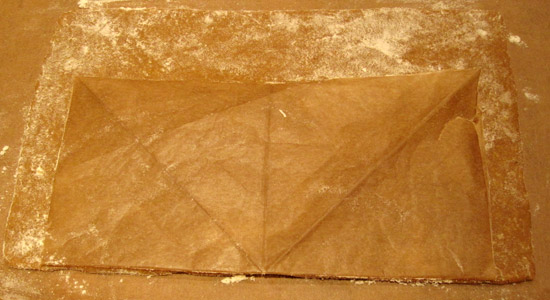
Copy this this square to a piece of paper. This is now our model for all other house parts.
Cut the square dough in the middle. This are the side walls. They should be as long as the square and half as high.
Now to the ground plate (B). It has an area that is of the same size as the square, and a front garden that could be of any shape. I formed it into a half circle with a radius of the square lenght.
Make the plate about half a centimeter bigger to avoid the risk that it will be too small.
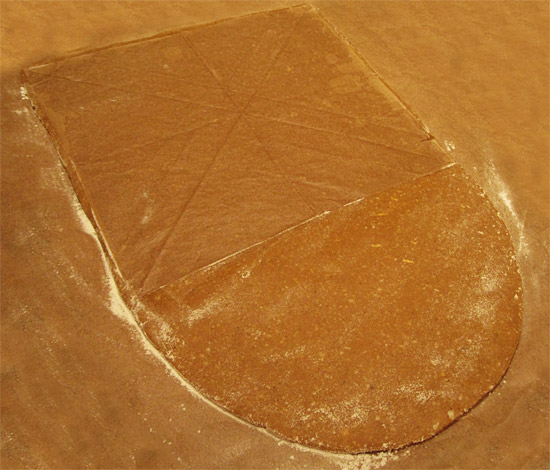
The front- and backside (C) also have an area with the size of the square. Furthermore, we need a triangle area. You get the dimensions by folding the paper in the middle, and folding the edges onto the center line.

The length of the roof parts is the length of the square. The height is the half diagonal that we just used for the gable.
It is recommended to make both sides a bit longer (see photograph).

The reason is that the roof parts won't fit onto the side walls if you glue the front side onto the walls. This looks much nicer than glueing the sidewalls from the sides onto the front side.
Furthermore, the roof gets a bit overhang the sides. By this you can apply nice icicle.
Now bake the parts, and frost them as long as they are warm. It is better if you let them rest before assembling. So the first part of the tutorial stops here.
Important: Hide the baked parts from hungry mouths!